The Heavy Arms has always been one of my favorite kit. I actually prefer the Custom Heavy Arms more than this version but too bad they don't have an MG for it yet. I didn't like the colour scheme (red & yellow) on the original one, always felt it was too kiddo and not bad-ass enough. Hence, I custom painted this model to a two-tone green. The end product....

It took me more than 2 months to build this due to work commitments and also simply because I messed up quite a bit in the process. First, both knee joints crumbled after I painted it with metal iron colour probably due to excessive thinner. I had to piece the broken joints back together using Mr Cement and it was a pain to do so. Second, I top coated it in humid weather and it turned frosty white! Had to remove the affected parts and repaint it again. Felt like throwing the model in the trash can because of this. And finally to top it all off, the left knee joint broke again. I had to reapply the plastic cement again. After all that, the model is now on display and I'm not touching it unless I have to.
The problematic knees...

Coloured the missiles red...

This is how the completed inner frame looks like

After the whole knee joints incident I avoid twisting the legs too much. But as any MG's, the articulation is good. I painted the gun barrel with metallic gold colour. The front & back ends of the barrel were pretty hard to paint and I masked the black sections using cellophane tape.
Gold painted gun barrel...

The model is quite bulky due to the gatling gun so it can be difficult to pose. That's why most of the pictures are just of the kit standing straight. Like these pics:

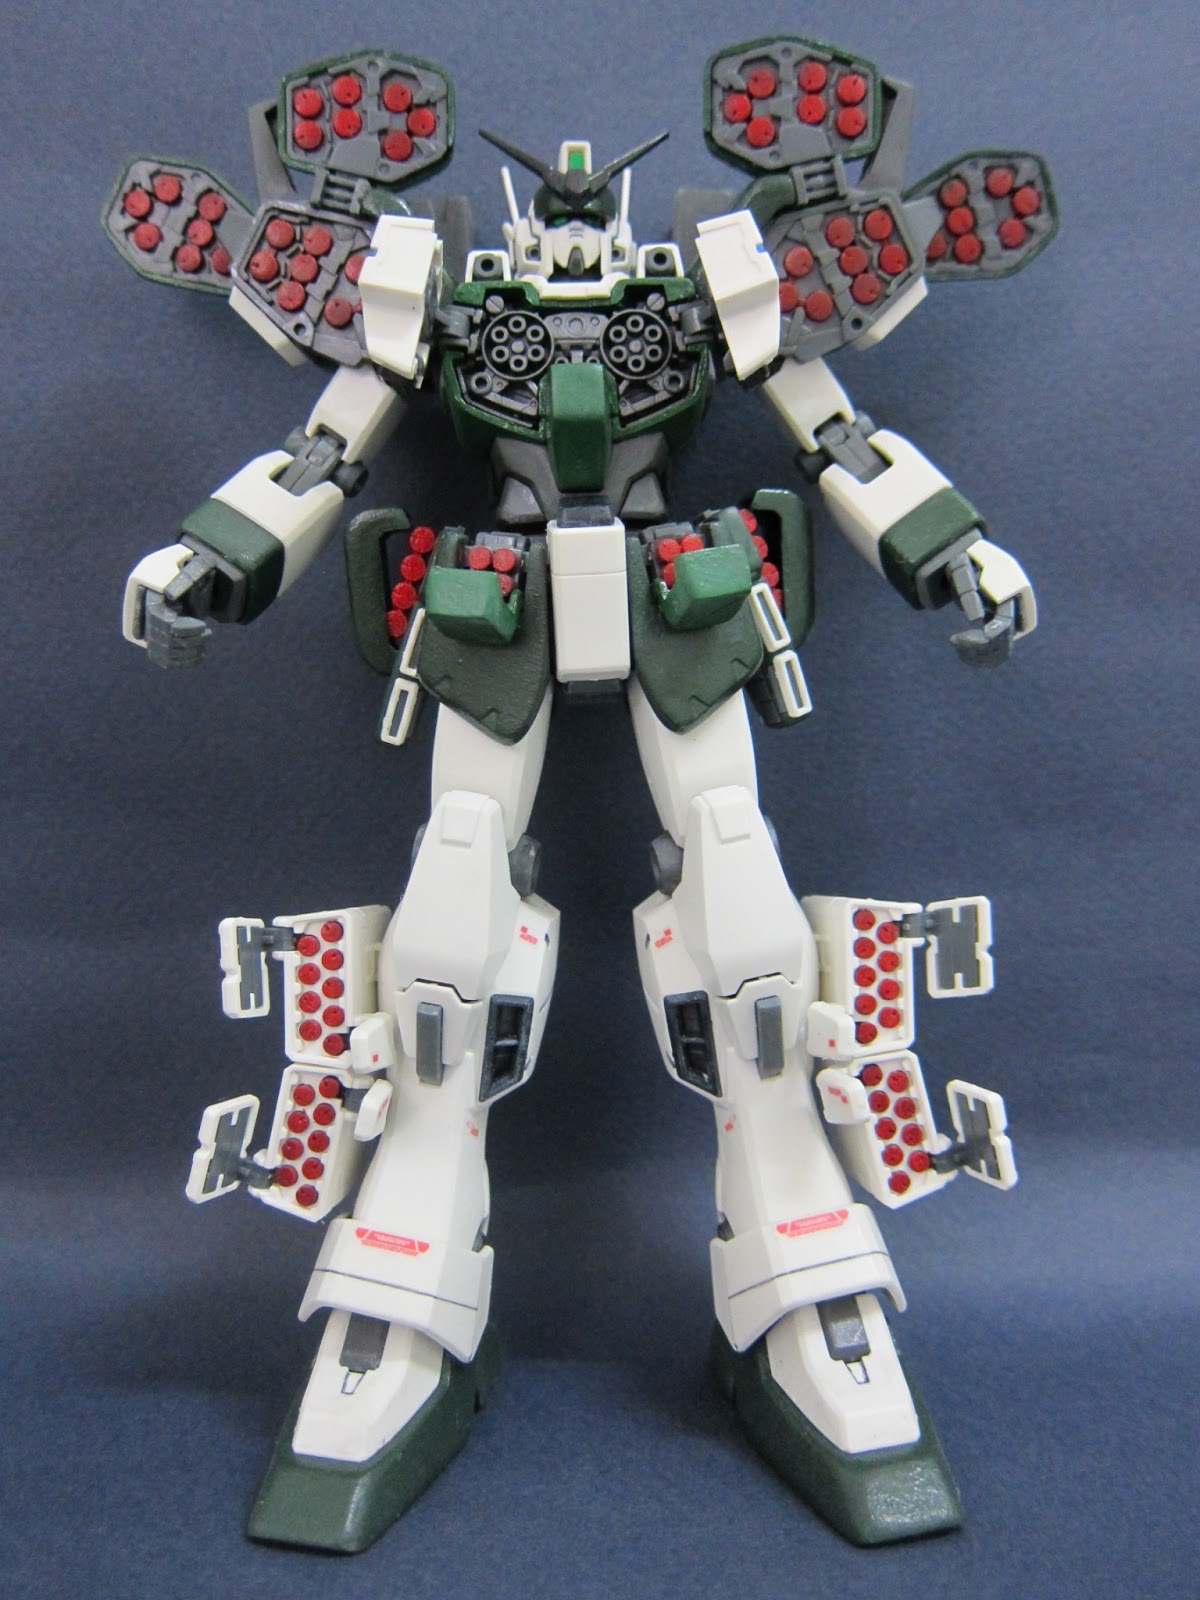

The giant barrel with the ammo chain looks good but adds to the bulkiness.


Couple more shots to round of this post:


Overall I'm happy with the end result of the kit. I screwed-up so much that I learnt quite a bit throughout the whole process i.e. top coat only when it's dry and the sun is bright! do NOT paint the joints with too much thinner (I still broke the knee joint for my Gouf Custom =__=, will post that next time).
No comments:
Post a Comment