Thursday, January 31, 2013

HGUC Gouf Custom

This is one of my personal favourite - the Gouf Custom. I have a thing for kits with big ass weapons such as this one. That's why I already have my eyes on the Jesta Cannon which is gonna be released some time in March.


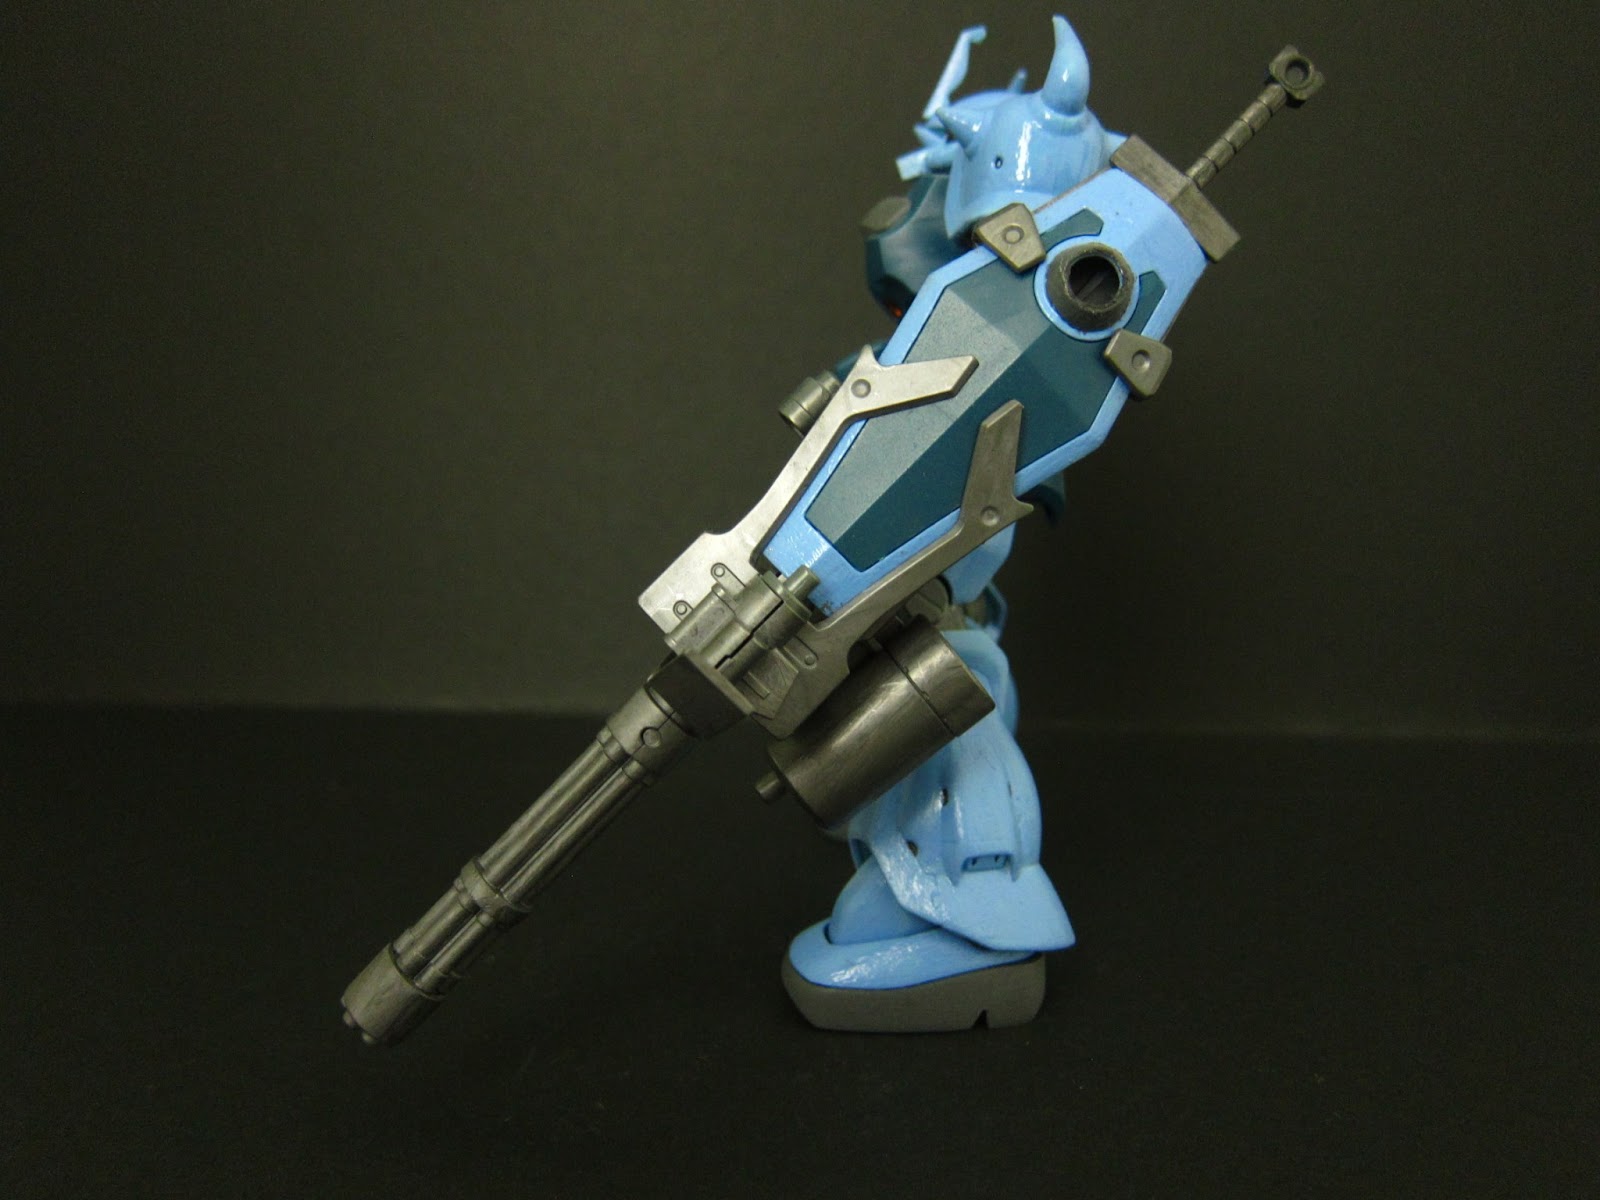
I painted the limbs (sky blue + a bit of white), knees/chest (black + white) and weapons (metal iron colour).  I didn't paint the body/skirt - the colour seems hard to mix. Finished it off as usual with a layer of matte top coat. I made the same mistake again of painting the knee joint (left) too much that it crumbled. I couldn't repair it with plastic cement unlike the Heavy Arms due to the HG parts being much smaller. In the end I glued the knee to the thigh using super glue so it's not bendable anymore.


The kit comes with quite a few weapons - the huge gatling gun attached to the shield, a sword, a smaller gun attached to the left hand (covered by the gatling gun/shield) and a wire thing on the right arm as seen in the anime. It also comes with 4 hands in total - 2 clenched fists with holes (for the sword and gun) and 2 clenched fists (no holes, for display).

                                      The smaller gun attached to the left hand...

                                                   The wire which is pretty cool...

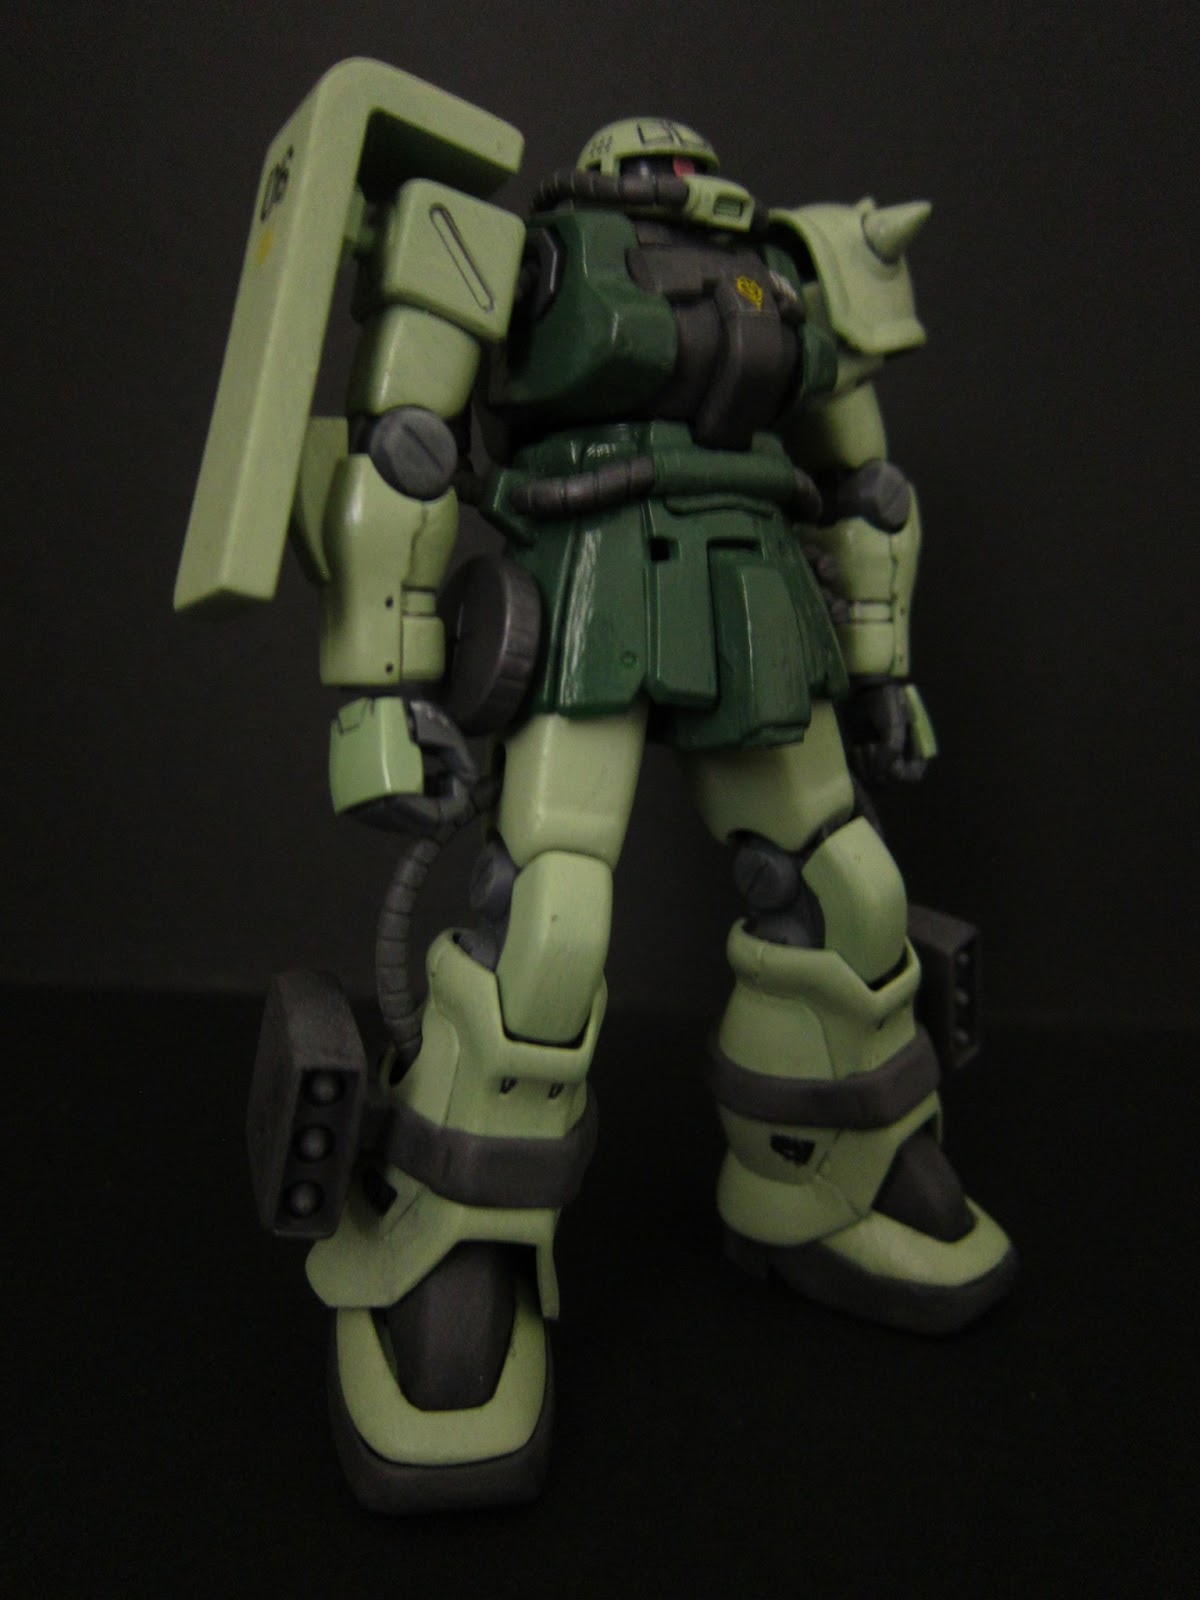
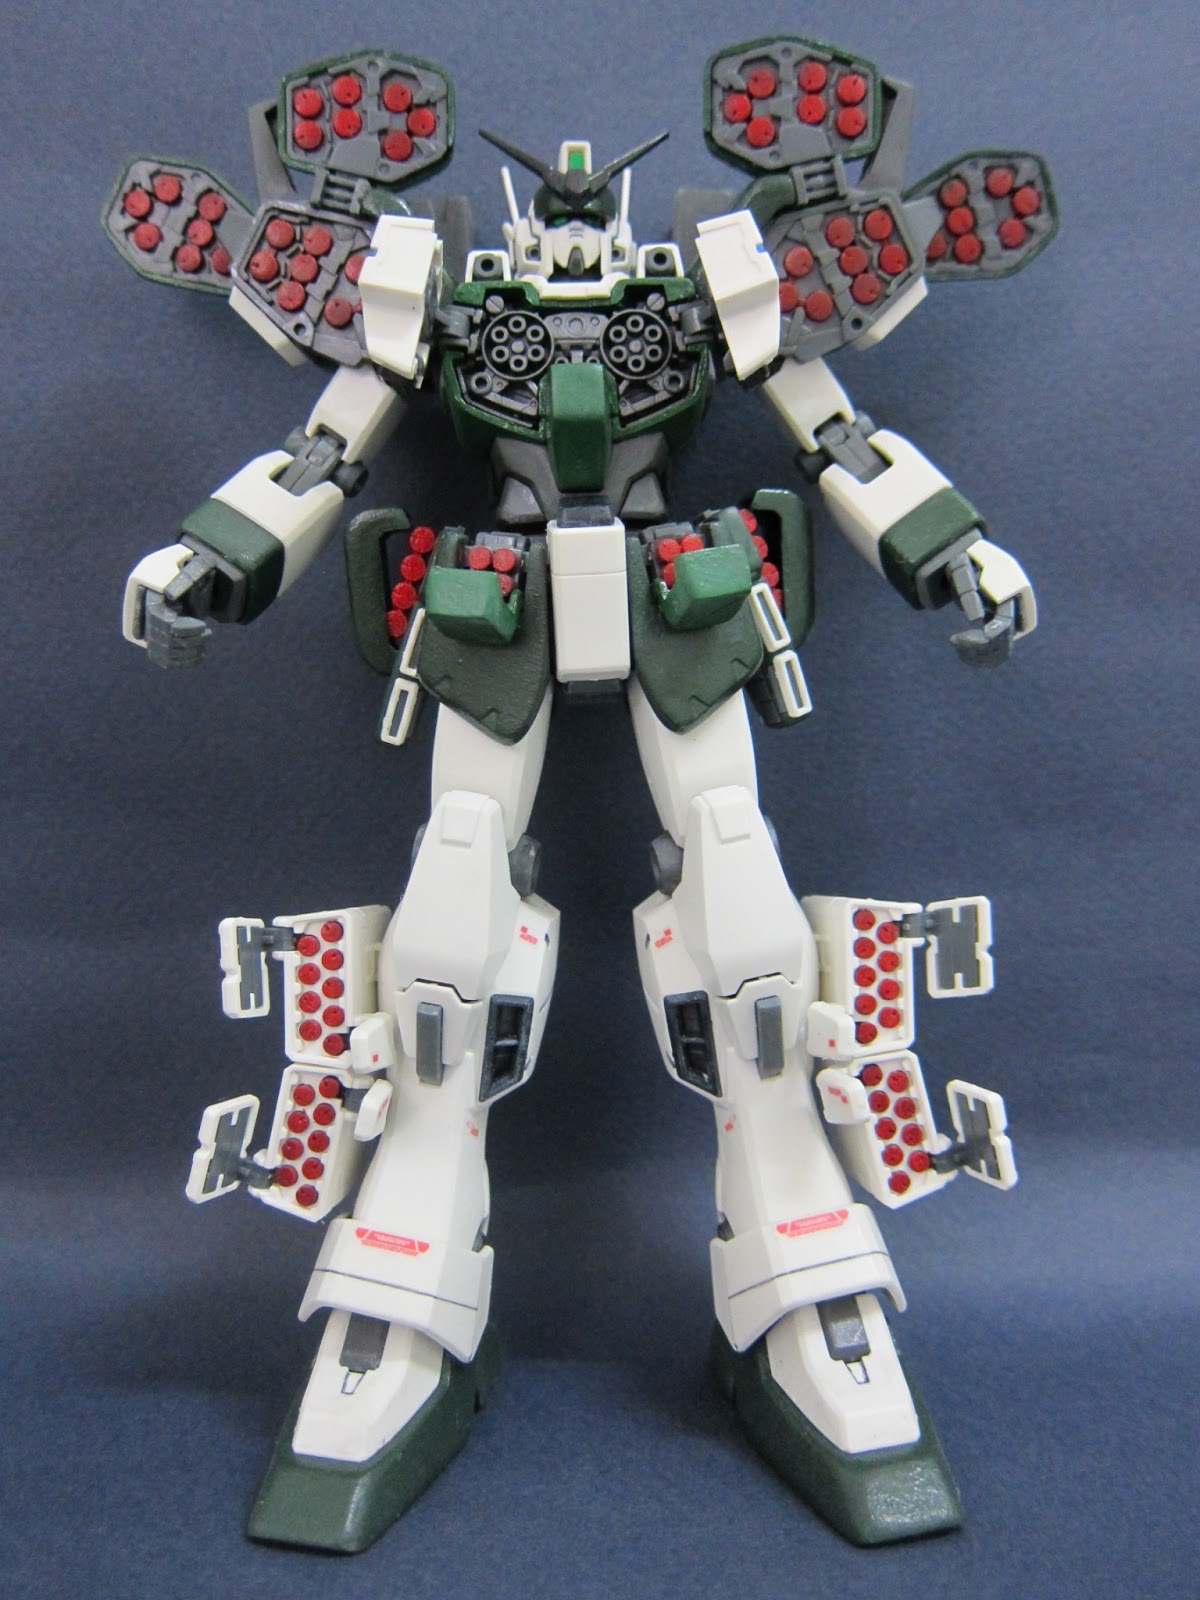
                                            Pictures to round off the post!


Tuesday, January 29, 2013

HGUC Zaku II F2

The Zaku II is one of those must-have kit for anyone doing Gunpla modelling. This kit is not exactly the original Zaku II hence the name (it's an upgraded version). I painted the limbs and head with basic light dull green. For the body armor and skirt it's a mixture of dark green, a bit of black and very little white. My first attempt in painting the body/skirt was only with dark green and it ended up fluorescent green! I had to repaint it after Googling for the correct colour blend. That's why the paint is a bit thicker than usual as seen in the pictures. The joints and grey-ish parts are painted with metal iron colour. A bit of panel lining to top it off and a coat of matte top coat to finish it off.


In terms of weapons it comes with the standard Zaku rifle (with the round magazine), an additional gun (pictured above), missile attachments on both legs and a heat hawk. The left side of the skirt has 2 grenades attached. It also comes with an additional drum magazine which can be attached to the skirt as well. Unfortunately I broke the standard rifle so it's permanently holding the other gun. The missiles are supposed to be red but it's a hassle to paint as they're not detachable so I just left it as it is.


It comes with a nice open left hand on which the rifle can rest on other than the standard clenched fist. Articulation is good but the skirt hinders the legs as with other Zaku type models.

                           Back view... painted the thrusters red with Gundam marker...

      I think the smaller head makes it look quite menacing as opposed to the original Zaku II...

That's all for this kit! I'm contemplating getting the Real Grade Zaku II but I have other Gundams in mind as well so it's a tough choice... I generally try to get different model kits and not repeat although strictly speaking this is not a Zaku II. I'll be doing the awesome HGUC Gouf Custom in the next post!

Sunday, January 27, 2013

HGUC RX-0 Unicorn Gundam (Destroy Mode)

This here is the High Grade Unicorn Gundam Destroy Mode. The details in the kit is pretty good considering it's just a HG. I only did very minimal panel lining and a bit of painting. The only drawback is there aren't any decals with this kit aside from the standard eyes and foil sticker for the beam rifle.


As with the Unicorn Mode, I painted the thrusters and upper portion of the backpack with a mixture of silver and dark blue. It has a magazine pack for the beam rifle which I had to paint as well. The magazine on the rifle itself is not detachable unlike the MG one. It came with the same colour as the rifle which is grey so I painted it as well. The V-fin was wholly in yellow front and back. The actual colours should be white on the back and yellow in the front. I painted the front gold (didn't like the yellow) and the back white.


The Gundam came with 2 beam sabres, the beam rifle and a variety of hands (2 standard grip with holes, right trigger hand). The open hands from the Unicorn Mode can also be used on this kit as it's the same design anyway. I accidentally broke the left beam sabre when it was attached to the backpack so now it's actually super-glued to the backpack.


It's customary to pose both the Unicorn Mode and Destroy Mode together =) I like this combination more than just getting the MG as I can foresee I'll be too lazy to transform it just to pose with it. Having two different kits is better for my case. 

                                       Unicorn Mode with the beam rifle....


That's all for the Unicorn Gundam kits I have!


Saturday, January 26, 2013

HGUC RX-0 Unicorn Gundam (Unicorn Mode)

I'm a fan of the Unicorn Gundam series and so it's natural I have this. It's fairly easy to build and has great articulation. I painted the cannon with chrome paint (of which I spilled the whole bottle on the floor) and the joints with metal iron colour. 


I also painted the backpack (black + dark blue) and the thrusters (silver + dark blue). The high grade version's backpack / thrusters is initially the same colour throughout. The inside of the shield is all white so I painted and panel-lined it. Also panel lined other parts as appropriate. For the panel lines, I used grey instead of black. Panel lining with black will be overwhelming and ugly due to the model being all white (I tried visualizing it in my head). Grey will be more subtle but at the same time showcase the panel lines =)


                                                      One of my favourite shots.....


Tuesday, January 22, 2013

MG XXXG-01H Heavy Arms

The Heavy Arms has always been one of my favorite kit. I actually prefer the Custom Heavy Arms more than this version but too bad they don't have an MG for it yet. I didn't like the colour scheme (red & yellow) on the original one, always felt it was too kiddo and not bad-ass enough. Hence, I custom painted this model to a two-tone green. The end product....


It took me more than 2 months to build this due to work commitments and also simply because I messed up quite a bit in the process. First, both knee joints crumbled after I painted it with metal iron colour probably due to excessive thinner. I had to piece the broken joints back together using Mr Cement and it was a pain to do so. Second, I top coated it in humid weather and it turned frosty white! Had to remove the affected parts and repaint it again. Felt like throwing the model in the trash can because of this. And finally to top it all off, the left knee joint broke again. I had to reapply the plastic cement again. After all that, the model is now on display and I'm not touching it unless I have to.

                                                 The problematic knees...

                                                   Coloured the missiles red...

                                    This is how the completed inner frame looks like

After the whole knee joints incident I avoid twisting the legs too much. But as any MG's, the articulation is good. I painted the gun  barrel with metallic gold colour. The front & back ends of the barrel were pretty hard to paint and I masked the black sections using cellophane tape.

                                                        Gold painted gun barrel...

The model is quite bulky due to the gatling gun so it can be difficult to pose. That's why most of the pictures are just of the kit standing straight. Like these pics:


                 The giant barrel with the ammo chain looks good but adds to the bulkiness.


                                           Couple more shots to round of this post:


Overall I'm happy with the end result of the kit. I screwed-up so much that I learnt quite a bit throughout the whole process i.e. top coat only when it's dry and the sun is bright! do NOT paint the joints with too much thinner (I still broke the knee joint for my Gouf Custom =__=, will post that next time).